
A new HVAC system is one of the biggest investments you'll make in your home. Maybe you're replacing an old unit. Maybe you're building new. Either way, it pays to know how the installation works. A good install boosts your home's energy savings, air quality, and comfort. It can also save you thousands of dollars over the life of the system.
This guide covers everything you need to know about HVAC installation. We'll walk you through each step, from first plans to final testing!
Understanding Your HVAC System Installation Needs
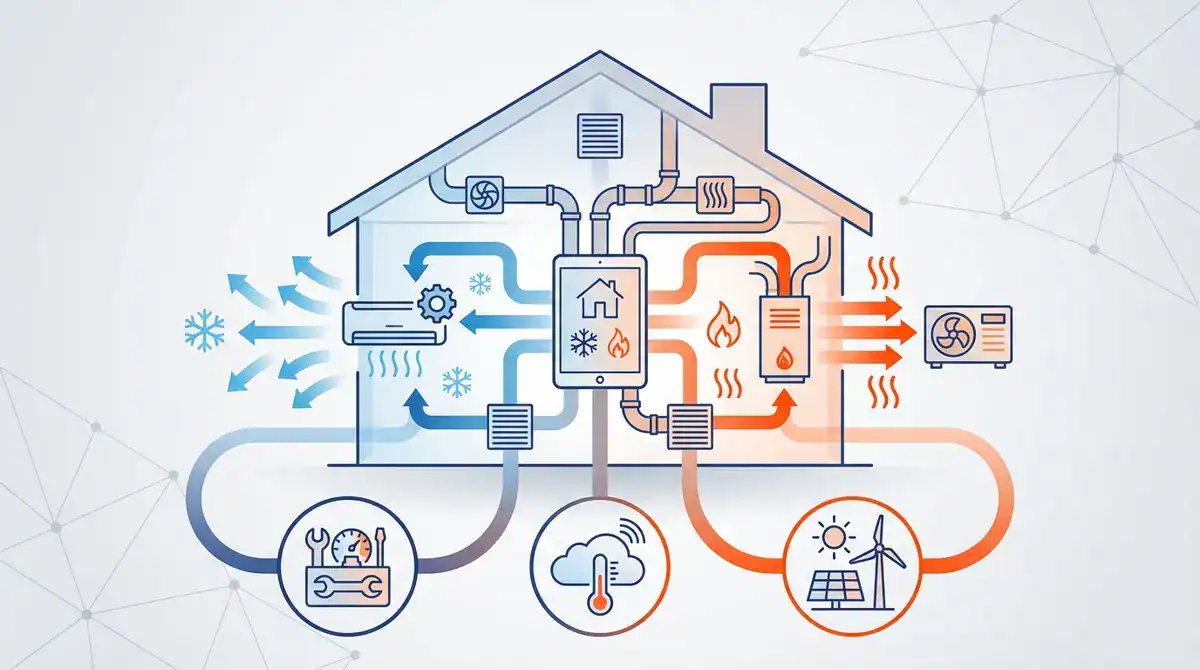
Before installation starts, look at what your home needs for heating and cooling. This first step decides the type and size of system that fits your space.
Start with your home's square footage, insulation, window placement, and local climate. A pro then runs a load calculation, called a Manual J calculation. It uses all these factors to find the exact heating and cooling capacity your home needs.
Many homeowners just replace their old system with one the same size. Don't make that mistake. It often leads to wasted energy and poor comfort.
Keep these key factors in mind when you plan your installation:
- Your home's total square footage and layout
- Number of floors and ceiling heights
- The age and quality of your insulation
- Number and type of windows and doors
- Local climate and temperature extremes
- Your budget and energy savings goals
Choosing the Right System Type
Today's market offers several HVAC system types. Each has its own strengths. Split systems are the most common choice. They pair an outdoor condensing unit with an indoor air handler or furnace. These systems work well for most homes and run reliably.
Heat pumps both heat and cool, so they keep gaining fans in moderate climates. No ductwork in your home? Ductless mini-split systems give you zoned comfort without major renovations.
The U.S. Department of Energy says modern HVAC systems use 20-40% less energy than systems 10-15 years old. That makes an upgrade a smart money move for many homeowners.
Preparing for Your HVAC Installation
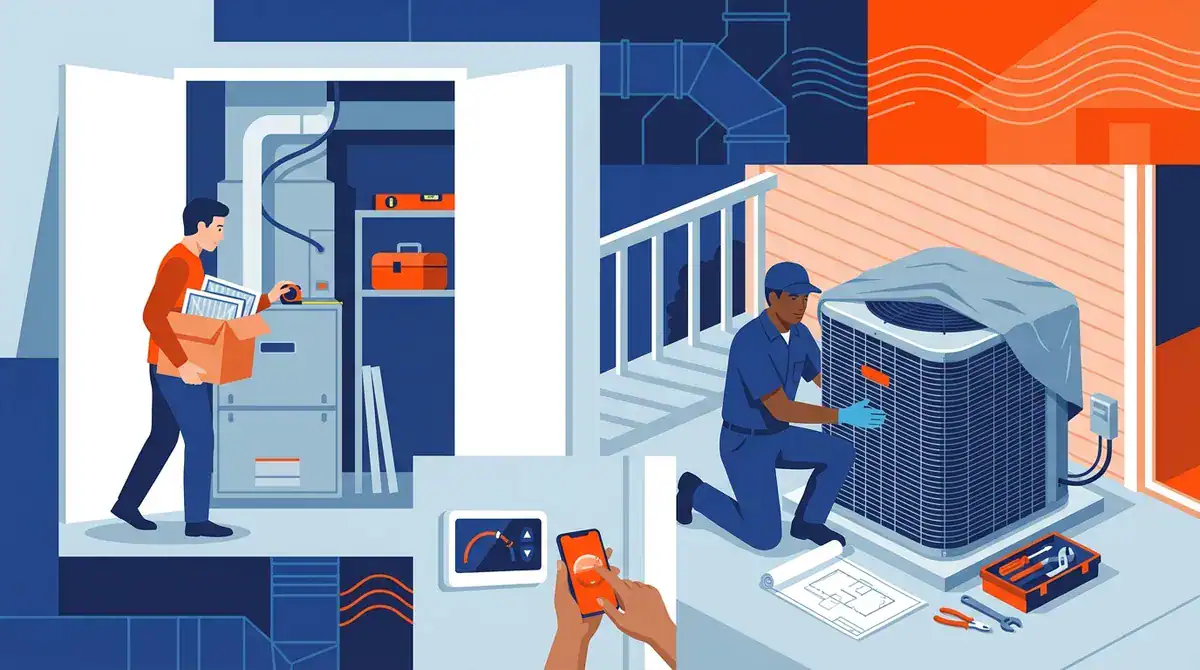
Good prep makes installation day go smoother. It also helps you avoid surprise problems. Work with experienced pros like Smart Home Air and Heat. That way your installation follows best practices and local building codes.
Try to schedule your installation during mild weather. Skip the peak summer heat and winter cold if you can. Mild weather leaves room to handle surprises. It also allows for careful testing under easier conditions.
What to Expect During Pre-Installation
Before installation day, your HVAC contractor should inspect your home. The visit covers measuring rooms, checking your ductwork, and testing your electrical capacity. The contractor also picks the best spots for your equipment.
You'll talk through your thermostat location and ventilation needs. This is also the time to add any indoor air quality upgrades you want.
Clear the work areas inside and outside your home. Remove anything blocking the old equipment. Make a clear path for hauling out the old system and bringing in the new one.
Have pets? Keep them in a separate room during the install. This keeps them safe and lets the crew work fast.
The Step-by-Step Installation Process
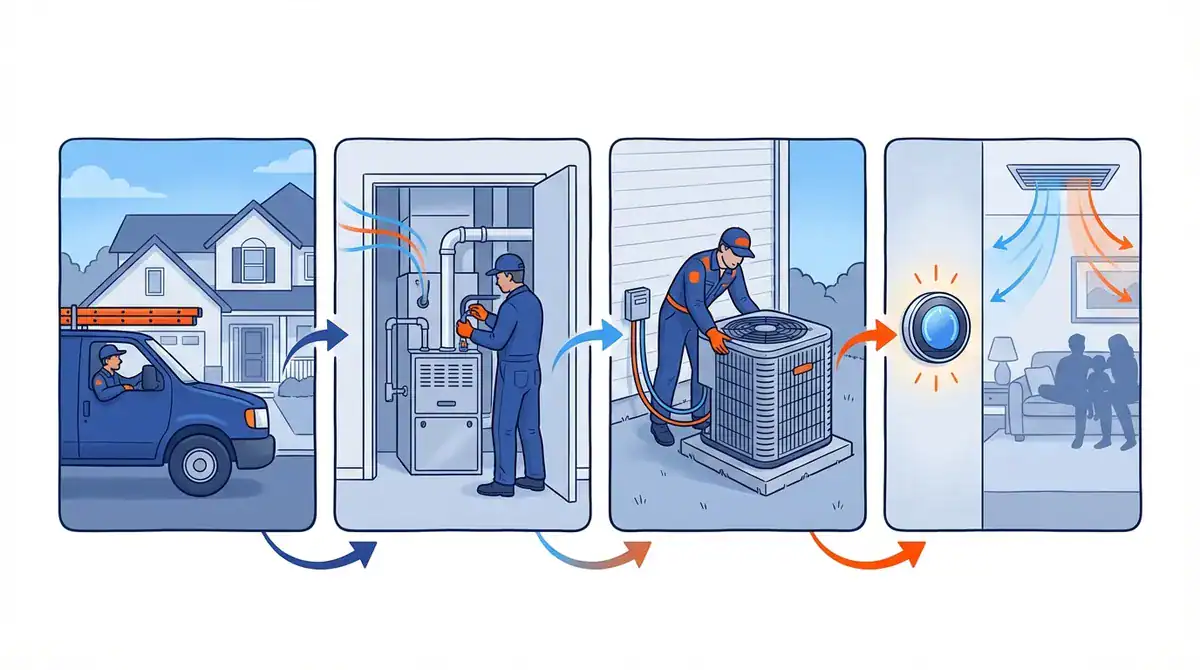
Knowing the order of the work helps you know what to expect. It also makes sure nothing gets missed. Pros follow a set process that puts safety, efficiency, and long-term performance first.
Phase 1: Removing the Old System
First, the crew disconnects and removes your old HVAC equipment. Technicians shut off the power and disconnect the refrigerant lines. They recover the refrigerant safely, following EPA rules. Then they pull out the old indoor and outdoor units, plus any parts that won't be reused. This phase usually takes 2-4 hours, depending on access and system complexity.
Phase 2: Preparing the Installation Space
Next, the crew preps the installation areas. They may reinforce equipment pads, upgrade wiring, or adjust existing ductwork. The outdoor unit needs a stable, level surface with good drainage. Indoor equipment needs room for airflow and future service. Many installs also upgrade the thermostat wiring for modern smart thermostat systems.
Phase 3: Installing New Equipment
Now comes the heart of the install. The crew sets and connects your new HVAC components. Here's what happens during this key phase:
- Set and secure the outdoor condensing unit on a level pad
- Set the indoor air handler or furnace in place
- Connect the refrigerant lines between the indoor and outdoor units
- Install or upgrade the wiring and disconnect boxes
- Connect or adjust the ductwork for good airflow
- Install the new thermostat and control systems
- Connect the condensate drain lines with the right slope and traps
Every connection must meet strict industry standards. That keeps your system safe, efficient, and long-lasting. Refrigerant lines need precise brazing. Electrical work must meet local codes and the maker's specs.
Critical Components of Quality Installation
A few details separate an average install from a great one. These details shape how well your system runs and how long it lasts.
Proper Refrigerant Charging
The right refrigerant charge is a must for peak performance. Too much or too little hurts efficiency, raises energy costs, and shortens equipment life. Pro technicians use precise scales and pressure readings to get the charge exactly right.
This work takes special tools and training. That's why professional AC installation matters so much.
Ductwork Assessment and Sealing
Your ductwork plays a big role in system efficiency. Even a perfect HVAC install falls short with leaky or wrong-sized ducts. Energy Star says homes lose 20-30% of their conditioned air through duct leaks and bad connections. A quality install includes a full duct inspection. The crew seals every connection and adjusts airflow balance through your home.
| Ductwork Issue | Impact on Efficiency | Recommended Solution |
|---|---|---|
| Unsealed joints | 15-25% energy loss | Mastic sealing or metal tape |
| Poor insulation | 10-20% energy loss | Add or upgrade insulation |
| Undersized ducts | Reduced airflow, comfort issues | Duct replacement or modification |
| Excessive duct runs | Increased static pressure | Optimize duct routing |
Electrical Upgrades and Safety
Modern HVAC systems often need electrical upgrades, especially in older homes. Your install should include the right wire sizes, dedicated breakers, and properly rated disconnect boxes. Ground fault protection and surge suppressors guard your investment. These upgrades keep the system safe and help you avoid costly repairs later.
Testing and Commissioning Your New System
After installation, full testing proves everything works right. Don't let anyone rush or skip this key phase.
Technicians run a series of checks. They verify refrigerant pressure, measure airflow at every register, and test the electrical draw. They also calibrate the thermostat and test the condensate drain.
They should run full heating and cooling cycles while tracking performance. Ask for written test results for your records.
Performance Verification Checklist
Ask your installer to verify these key performance checks:
- Temperature split across the evaporator coil (usually 15-20°F for cooling)
- Correct refrigerant superheat and subcooling values
- Enough airflow (about 400 CFM per ton of cooling)
- Correct thermostat operation and programming
- Quiet operation with no odd sounds or vibration
- Normal cycling with no short-cycling issues
Companies like Smart Home Air and Heat give you full records of all system settings and test results. That gives you peace of mind and a baseline for future HVAC maintenance visits.
Common Installation Mistakes to Avoid
Know the common installation mistakes. Then you can make sure your contractor follows best practices and protects your investment.
Improper System Sizing
Oversized systems short-cycle. They fail to remove humidity and wear out parts early. Undersized systems run nonstop, never keep you comfortable, and burn extra energy. Both problems come from skipping the load calculation. Ask to see the Manual J calculations before you pick equipment.
Inadequate Airflow
Restricted airflow causes many problems. You get lower efficiency, poor comfort, and early equipment failure. Common causes include undersized ducts, blocked vents, and wrong blower settings. A pro install includes airflow testing to confirm good circulation through your whole home.
Poor Thermostat Placement
A thermostat near a heat source, in direct sun, or in a dead-air spot gives false readings. That hurts both comfort and efficiency. The best spot is an interior wall, about 52-60 inches from the floor. Keep it away from windows, doors, and heat-producing appliances.
Want more tips on thermostat placement? Check out our Facebook community.
Maximizing Your Investment After Installation
Your job isn't done when the crew leaves. Take good care of your new system, and it will serve you well for years.
Establish a Maintenance Schedule
Regular maintenance prevents most HVAC problems and keeps your system running well. Change your air filters every 1-3 months, based on use and filter type. Book professional maintenance twice a year — once before cooling season and once before heating season. At these visits, technicians clean parts, check refrigerant, and test safety controls. They catch small issues before they become costly repairs.
Understanding Your Warranty
HVAC warranties usually cover parts from the maker. Some installers add separate labor coverage. Read your warranty papers with care. Know what's covered, for how long, and what can void it. Most makers require professional installation and regular maintenance to keep the warranty valid. Keep all your records in one safe place — install records, maintenance logs, and warranty papers.
Optimizing System Performance
Small changes can boost your system's efficiency and your comfort. Use programmable or smart thermostat settings to cut heating and cooling while you sleep or travel. Keep vents and returns clear of furniture and drapes. Give the outdoor unit at least two feet of clearance on all sides for good airflow. In winter, reverse your ceiling fans to push down the warm air near the ceiling.
When to Call for Professional Help
Even a well-installed, well-kept system raises questions sometimes. Knowing when to call a pro stops small issues from turning into big problems.
Call your HVAC provider right away if you notice warning signs. Listen for grinding, squealing, or banging. Watch for weak or uneven airflow, higher energy bills, water pooling near equipment, or frequent on-off cycling. These symptoms often get worse fast without help.
Did your system fail completely in extreme weather? Many companies offer emergency service to restore your comfort fast. Don't wait if something seems off. Early action saves money and keeps you comfortable.
Cost Considerations and Return on Investment
Know the money side of HVAC installation. It helps you make smart choices and get the most value from your investment.
What Affects Installation Costs
Several factors drive your total installation cost. System size and efficiency rating shape the equipment price. Higher SEER ratings cost more upfront but save more over time. Installation difficulty matters too. Tight access, big ductwork changes, or electrical upgrades raise labor costs. Your location also affects equipment and labor prices.
| Cost Factor | Typical Range | Notes |
|---|---|---|
| Equipment (standard efficiency) | $3,000-$7,000 | Varies by size and brand |
| Equipment (high efficiency) | $5,000-$12,000 | Higher upfront, lower operating costs |
| Installation labor | $2,000-$5,000 | Depends on complexity |
| Ductwork modifications | $1,500-$5,000 | If needed |
| Electrical upgrades | $500-$2,000 | For older homes |
Calculating Long-Term Savings
High-efficiency systems cost more upfront, but they often pay for themselves through lower energy bills. A 16 SEER system uses about 30% less energy than a 13 SEER unit. Spend $200 a month on cooling? That's about $60 in monthly savings, or $720 a year. Over a 15-year system life, those savings top $10,000 — far more than the extra upfront cost.
Also look for rebates and incentives from utility companies or government programs. Many areas offer big rebates for high-efficiency installs, which cuts your upfront cost. Check YouTube channels for tips on getting these incentives.
Regional Considerations for Installation
Your local climate and building codes shape what your installation needs. Know these regional factors, and your system will perform its best where you live.
Hot, humid places like Central Florida demand good humidity control. Your system needs real dehumidification power, not just cooling. The install should focus on drainage — sloped drain lines plus backup overflow protection. Heat pumps also work very well in moderate climates. They heat and cool efficiently all year.
Local building codes and permit rules vary a lot. Professional installers stay current on these rules, so your install meets every legal requirement. Some areas set specific efficiency ratings, noise limits, or install methods. Hire licensed, experienced contractors who know our service areas. You'll stay compliant and avoid future headaches.
HVAC Installation Final Thoughts
A new HVAC system is a big investment in your home's comfort, efficiency, and value. Learn the process. Pick the right equipment. Work with qualified pros and maintain the system well. Do that, and you'll enjoy reliable comfort and a strong return for years to come.
Remember: proper installation makes all the difference. Cutting corners leads to lower efficiency, early failures, and extra costs down the road.
A successful install comes down to three things: careful planning, professional work, and ongoing maintenance. Take time to research your options and ask questions. Make sure your contractor follows industry best practices. Your comfort depends on getting this project right the first time.
For expert guidance and guaranteed satisfaction, visit us on Google to see what our customers say about their installations.
Ready to upgrade your home comfort with a professional HVAC installation? Schedule service today and feel the difference expert installation makes!
HVAC Installation FAQs
Q: How long does a typical HVAC system installation take?
A: A standard replacement usually takes 6-12 hours. Bigger jobs — ductwork changes, electrical upgrades, or tough access — can take 1-3 days. Your contractor should give you a clear timeline at the pre-install visit, so you know exactly what to expect.
Q: Do I need to be home during the entire installation process?
A: Be home at the start to cover any last questions. Be home at the end for the system demo and paperwork review. You don't need to watch every minute, but someone should be reachable if the crew has questions. Most homeowners like to stay nearby to watch progress and raise any concerns.
Q: What’s the most important factor in choosing an HVAC installer?
A: Experience and proper licensing matter most. Look for deep experience, proper licensing and insurance, manufacturer certifications, and strong customer reviews. A qualified installer sizes your system right and installs it well. Your system runs efficiently for years — saving you money and preventing headaches.
Q: How much can I save with a high-efficiency HVAC system?
A: High-efficiency systems usually cut energy costs by 20-40% compared to older or standard models. Spend $2,000 a year on heating and cooling? That's $400-800 in yearly savings. Over a 15-year lifespan, you could save $6,000-12,000. For most homeowners, that makes the higher upfront cost worth it.
Q: When is the best time of year to install a new HVAC system?
A: Spring and fall are ideal. Mild weather and open contractor schedules mean better pricing, faster booking, and more careful work. But if your system fails in extreme weather, don't wait. An emergency install protects your comfort and prevents damage from temperature extremes.
From Orlando, East Orlando, Winter Park, Lake Nona, and Oviedo, homeowners across Central Florida trust Smart Home Air and Heat. We deliver fast, reliable HVAC service backed by our 90-minute guarantee.