
Arrival
AC Repair Orlando FL — Same-Day Service, No After-Hours Fees
AC not cooling? Strange noises? Blowing warm air? We diagnose it fast, price it honestly, and fix it today. 90-minute arrival or $200 off.
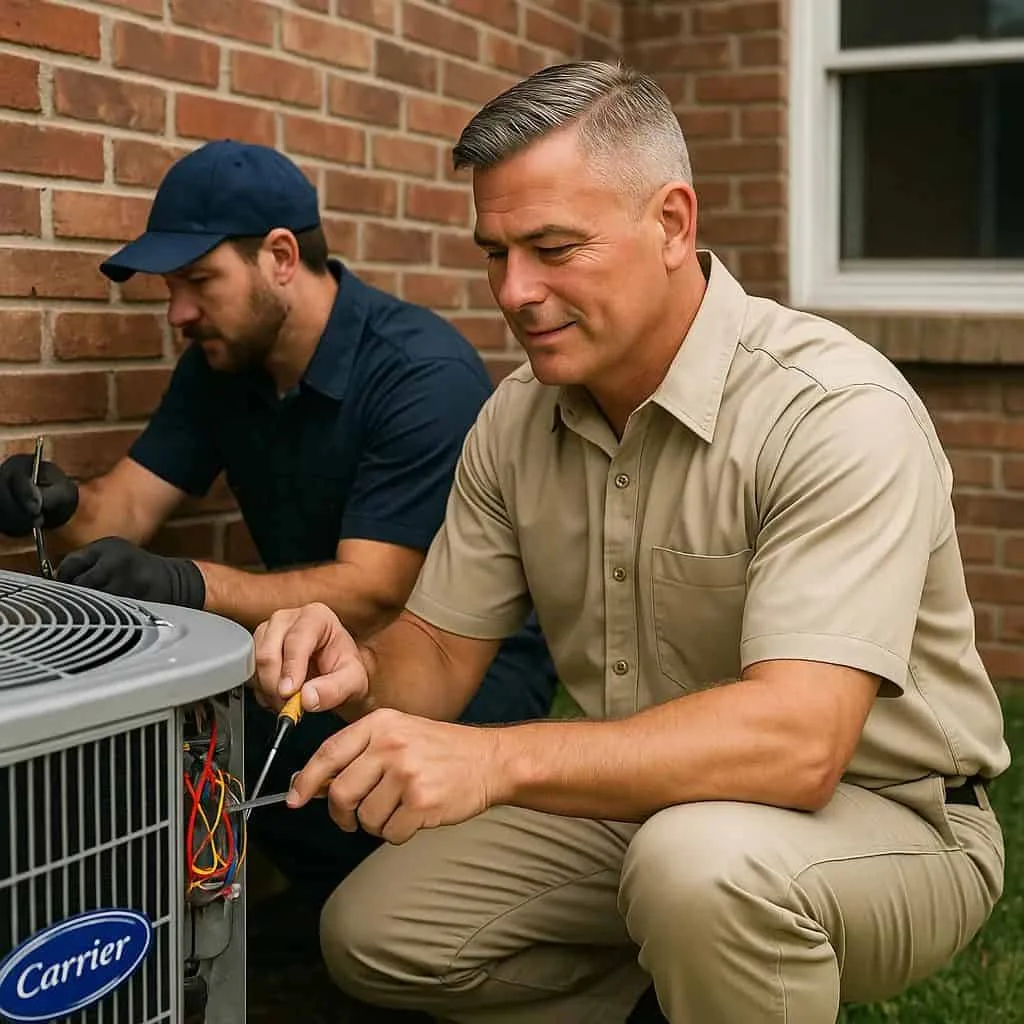
See It in Action
We Find the Problem Fast — No Guessing, No Wasted Money
Chris walks through a real AC repair call in Orlando — showing exactly how our technicians use advanced diagnostics to find the real problem fast, not guess and charge you for it.
Don’t Ignore These Signs
6 Signs Your AC Is About to Break (Don't Wait on These)
Florida’s heat turns small AC problems into expensive failures fast. If you notice any of these, call us today.
Warm Air Blowing
Your system is running but not cooling. Often a refrigerant leak, failed compressor, or dirty condenser coil — all get worse fast in Orlando heat.
Water or Ice Buildup
Ice on your coil or pooling water around the unit signals restricted airflow or a refrigerant problem. Left alone, it causes costly coil and compressor damage.
Strange Noises
Banging, grinding, squealing, or clicking usually means a failing motor, loose component, or compressor issue. The louder it gets, the worse the damage becomes.
Frequent Short-Cycling
Your AC kicks on and off every few minutes instead of completing full cycles. This strains the compressor and spikes your electric bill until the underlying fault is fixed.
Bad Smells from Vents
Musty odors often indicate mold inside your air handler or ductwork. Burning smells can mean electrical issues. Either way, don’t run the system until a tech inspects it.
Sudden Energy Bill Spike
If your bill jumps 20–40% without explanation, your AC is working harder than it should. Dirty coils, low refrigerant, or a failing motor are the usual culprits in Central Florida homes.
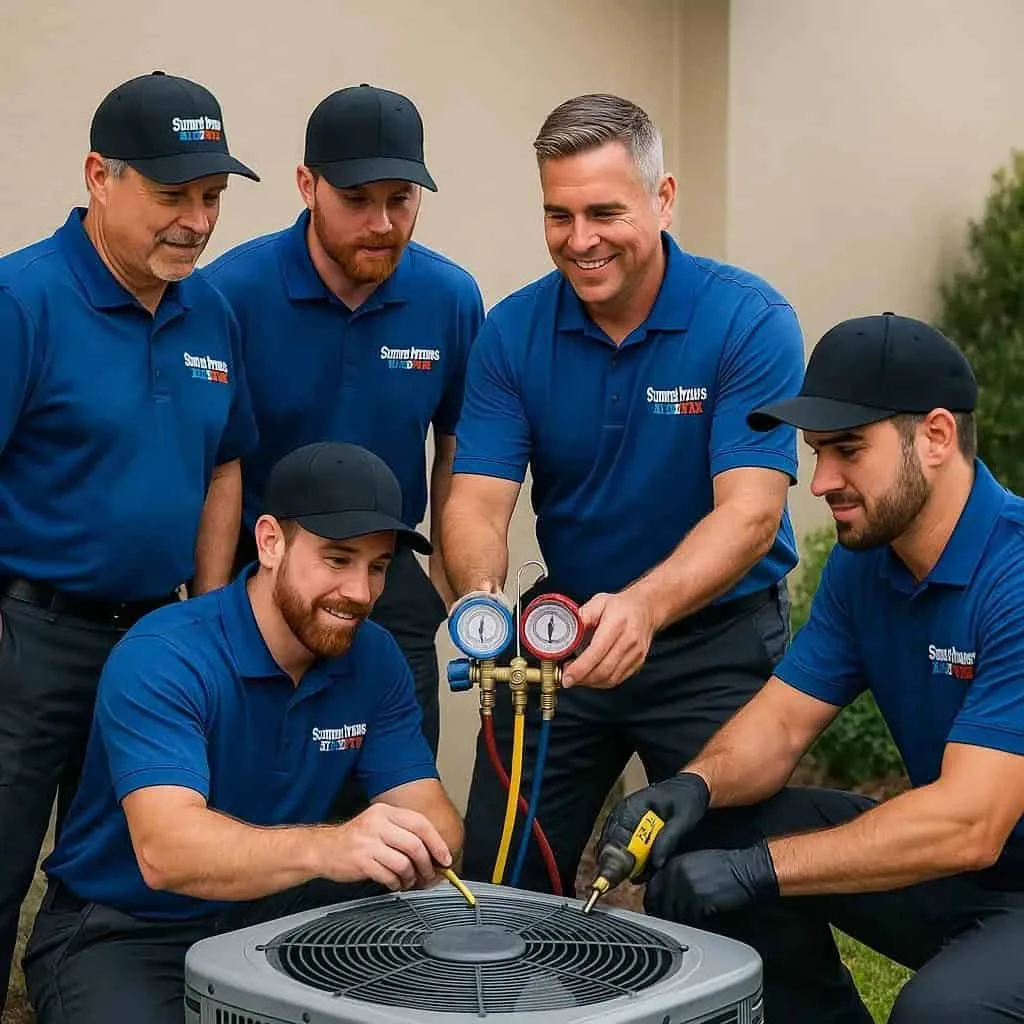
Trusted Since Day One
Why Orlando Homeowners Choose Smart Home Air and Heat
Your AC is down and you need it fixed today — not a sales pitch, not a “we’ll call you back,” not a $89 diagnostic that turns into a $5,000 quote. We show up fast, tell you exactly what’s wrong, and fix it at a fair price. That’s been our approach for 30+ years.
- 90-minute arrival guarantee — or $200 off your bill
- Same price 24/7 — zero after-hours upcharges
- NATE-certified, background-checked technicians always
- Advanced diagnostics — we find the real problem, not the expensive one
- Upfront written quotes before any work begins
Watch & Learn
The Biggest AC Repair Mistakes That Cost You Thousands
Chris breaks down the most common and expensive mistakes — from waiting too long, to hiring the wrong company, to accepting vague diagnoses. Watch this before you call anyone about your broken AC.
Call (407) 465-7777Our Promise to You
What You Get When You Call Us (Speed, Accuracy, No BS)
- Thorough multi-point system inspection before any repair
- Written upfront quote — approved by you before work begins
- Parts and labor warranty on every repair we perform
- Clean, professional technicians who respect your home
- Honest repair-vs-replace recommendation — never upsell pressure
- Licensed and Insured — fully insured, 30+ years experience
See Why Orlando Homeowners Trust Us!
Real reviews from real customers across Central Florida
“AC went out at 9pm on a Saturday. Chris had a tech here within 45 minutes and fixed the capacitor on the spot. No after-hours fee. Absolutely incredible service — won’t call anyone else.”
“They diagnosed my AC in 20 minutes when two other companies had no idea what was wrong. NATE-certified tech, upfront price before touching anything, and it’s been running perfect for 6 months. Highly recommend.”
“Called at 7am, tech was here by 8:30. He explained every step, showed me exactly what failed, and gave me options without pressure. Replaced the contactor and had cool air running before noon. Best HVAC company in Orlando.”
Your AC Is Down. We’ll Be There in 90 Minutes.
Call us now or fill out the form and we’ll call you right back. 24/7 service, no after-hours fees, and a guaranteed arrival time — or $200 off your repair. Same-day service available throughout Orlando and Central Florida. Need AC repair in Orlando? We’ve got you covered.
(407) 465-7777More AC Repair Tips for Orlando Homeowners
Got Questions?
AC Repair Questions (Cost, Time, What to Expect)
How much does AC repair cost in Orlando?
AC repair in Orlando typically costs $150–$650 depending on the issue. Common repairs like refrigerant recharge run $200–$450, capacitor replacement is $150–$250, and compressor repairs can reach $600–$1,200. Smart Home Air and Heat provides upfront pricing before any work begins — no hidden fees.
How fast can you get to my home for AC repair in Orlando?
We guarantee arrival within 90 minutes of your call, 24 hours a day, 7 days a week. If we miss that window, you get $200 off your repair — no questions asked. Same-day service is available for all AC repairs in the Orlando metro area.
Do you charge extra for nights, weekends, or holidays?
No. Smart Home Air and Heat charges the same rate 24/7, 365 days a year — including nights, weekends, and holidays. There are zero after-hours fees or emergency surcharges. What we quote is what you pay.
Why is my AC blowing warm air?
Warm air from your AC is most often caused by low refrigerant (a slow leak), a failed compressor, a dirty condenser coil, or a faulty capacitor. In Florida’s heat, these issues escalate quickly. A qualified technician should diagnose the system the same day to prevent further damage.
My AC is running but not cooling — should I repair or replace?
If your system is under 10 years old, repair is almost always the better value. Systems 12–15+ years old with major failures (compressor, coil) are typically better candidates for replacement. Smart Home Air and Heat gives you an honest assessment — we’ll never recommend replacement if repair makes more sense.
Is your AC repair company licensed and insured in Florida?
Yes. Smart Home Air and Heat holds a Florida-licensed HVAC contractor. All technicians are NATE-certified, background-checked, and fully insured. We’ve been serving the Orlando area for over 30 years.
What brands of AC do you repair in Orlando?
We repair all major AC brands including Carrier, Lennox, Trane, Goodman, Amana, Rheem, Ruud, Daikin, and York. Our technicians carry parts for most major brands on every truck to maximize same-day repair completion.
Do you offer a warranty on AC repairs?
Yes. All parts and labor on AC repairs performed by Smart Home Air and Heat are backed by our service warranty. If the same issue returns within the warranty period, we come back and fix it at no charge.
Is it worth repairing a 15-year-old AC in Florida?
Generally no. AC units in Florida work harder than anywhere in the country and typically last 10–15 years. If your system is 15+ years old and needs a major repair (compressor, coil, or refrigerant leak), replacement almost always makes more financial sense. A new system also qualifies for up to $2,000 in federal tax credits. We’ll give you an honest assessment — we never push replacement if repair makes sense.
How long can you go without AC in Florida?
In summer, indoor temperatures in Orlando can reach 90–100°F within hours without AC. For elderly residents, children, and pets, this becomes a health emergency fast. That’s why we guarantee 90-minute arrival — because in Florida, no AC IS an emergency. See our 24/7 emergency AC service page or call (407) 465-7777 any time day or night.
Why is my AC running but not cooling the house?
The most common causes are: low refrigerant from a leak, a dirty or frozen evaporator coil, a failed compressor, a bad capacitor, or a clogged air filter. Some of these are quick fixes under $200. Others may require more involved repair. We diagnose the exact problem before quoting — no guesswork, no padding.
How much does it cost to replace a capacitor on an AC unit?
Capacitor replacement in Orlando typically runs $150–$300 including parts and labor. It’s one of the most common AC repairs and can usually be completed in under an hour. We carry capacitors for most major brands on every truck for same-day repair.
Why does my AC keep tripping the breaker?
A tripping breaker usually means your AC is drawing too much power. Common causes include a failing compressor, a shorted wire, a seized fan motor, or a dirty condenser coil making the system overwork. Don’t keep resetting the breaker — that can cause an electrical fire. Call a licensed tech to diagnose it properly.
Is no AC considered an emergency in Florida?
Yes. Florida law doesn’t have a specific statute, but landlords are generally required to maintain habitable conditions which includes cooling in our climate. For homeowners, the health risk of no AC in 95°F heat with Florida humidity makes it a genuine emergency — especially for seniors and young children. We treat every call as an emergency because in Orlando, it is one.
Should I get a second opinion on AC repair?
If any company tells you that you need a $3,000+ repair without showing you exactly what’s wrong, absolutely get a second opinion. At Smart Home Air and Heat, we show you the problem, explain your options, and give you the price before we touch anything. You approve every dollar. That’s how it should work.
How often should you service your AC in Florida?
Twice a year — once in spring before the cooling season and once in fall. Florida’s humidity, pollen, and year-round runtime put extreme stress on AC systems. A $89 tune-up catches small problems before they become $500+ emergency repairs. Our AC maintenance plan includes both visits plus priority scheduling and discounts.