Introduction
A truly “smart home” isn’t just a collection of separate gadgets – it’s when all those devices work together. Integrating your HVAC system (heating, ventilation, and air conditioning) with your broader smart home ecosystem means you can control climate alongside your lights, locks, and other devices in harmony. For beginners, this might sound complex, but we’ll break down how to get your thermostat and HVAC controls talking to the rest of your smart home, step by step.

Why Integrate Your HVAC?
- One-App Convenience: Instead of juggling separate apps for your thermostat, lights, and security, you can tie everything into one platform. Imagine adjusting your HVAC settings, lighting, and security system all from one interface on your phone or via a single voice assistant
onehourairftworth.com
. This unified control is simpler and more efficient. - Automation: When HVAC is integrated, you can create scenes or routines. For example, an “Away” routine could turn off lights, lock doors, and set the thermostat to an energy-saving mode all at once. A “Good Morning” routine might turn up the heat and start your coffee maker.
- Voice Control: Integration typically enables voice control. Instead of addressing each device separately, you can include climate commands in whole-home phrases (“Alexa, I’m leaving now” triggers multiple actions including HVAC).
- Energy Savings & Comfort: Your smart home can use data from various devices to optimize HVAC. For example, if your security system’s door sensor knows a door is open, it could tell the thermostat to pause the AC to avoid waste. Or motion sensors can inform the thermostat that no one’s in a room, adjusting the temperature accordingly.

Step 1: Choose a Compatible Smart Thermostat
To integrate HVAC, you’ll need a thermostat that can communicate with your smart home platform:
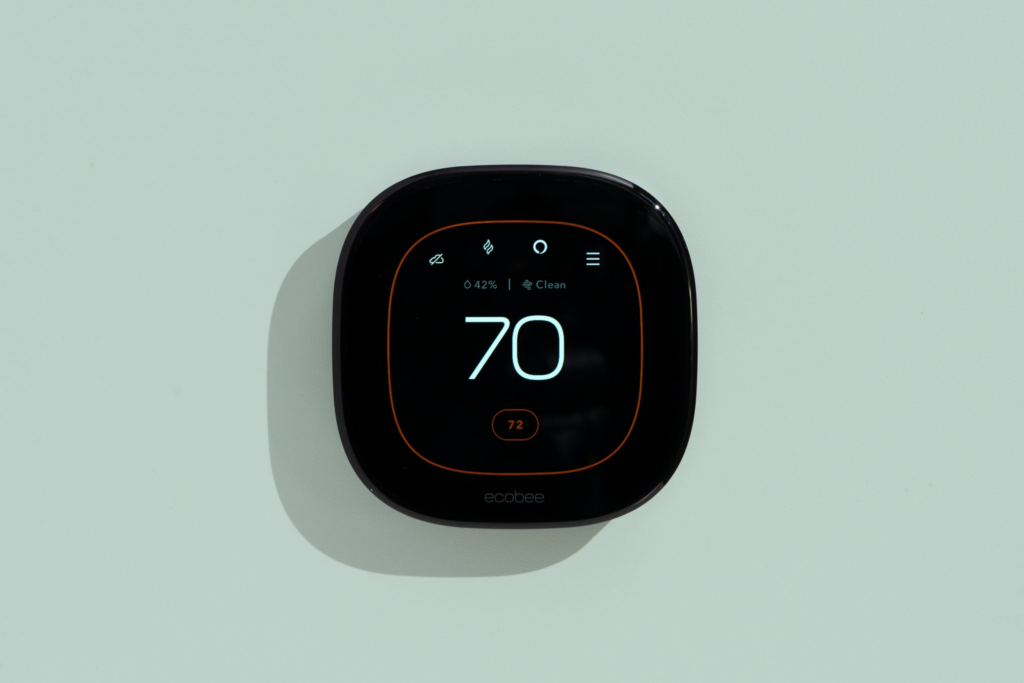
- Check Ecosystem Compatibility: Decide which ecosystem (Alexa, Google Home, Apple HomeKit, SmartThings, etc.) you use most. Then choose a thermostat that works with it. Ecobee and Honeywell models work with most platforms; Nest works with Google/Alexa (and via new standards like Matter, possibly with Apple).
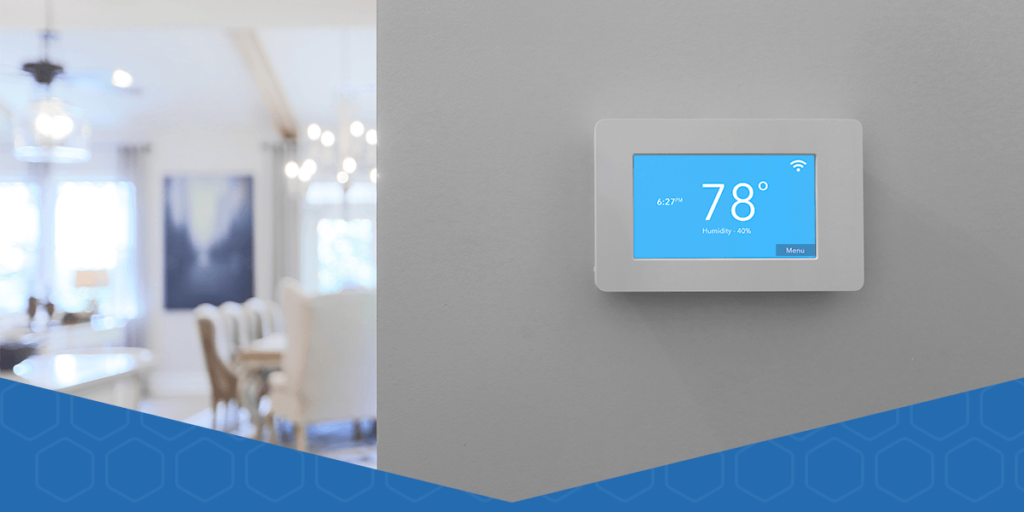
- Wi-Fi Enabled: Ensure the thermostat is Wi-Fi capable (most smart ones are) so it can connect to your network and internet.
- Installation: Install the smart thermostat per instructions (or have a pro do it). Once it’s controlling your HVAC properly via its own app, you’re ready to integrate.

Step 2: Connect the Thermostat to Your Smart Home Platform
Each platform has a slightly different process, but typically:
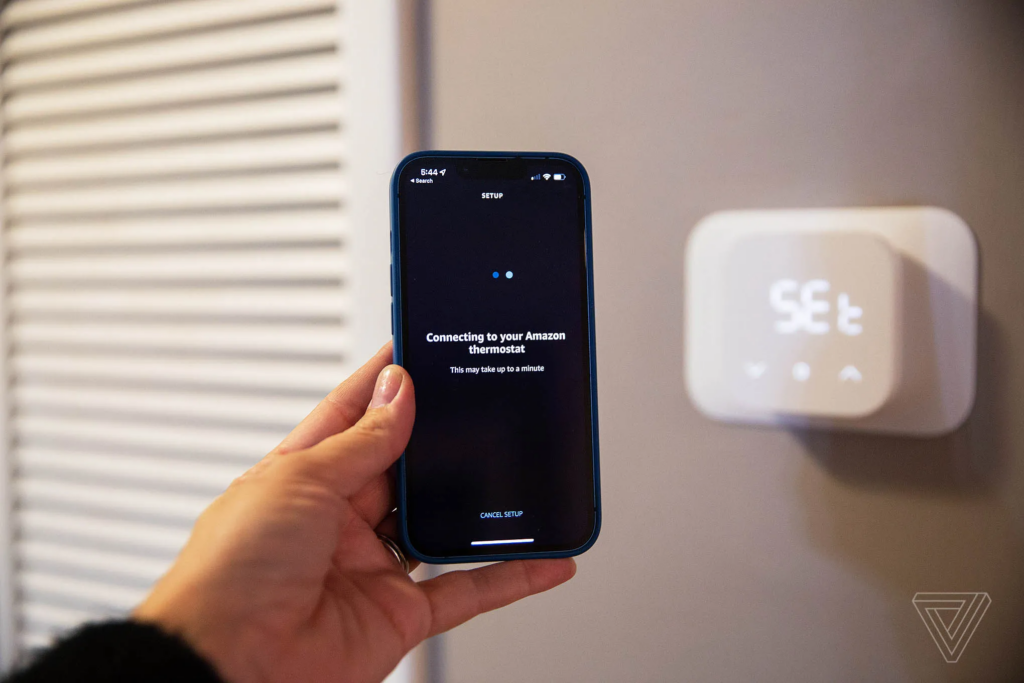
- Platform App Setup: Open your smart home app (Alexa, Google Home, Apple Home, etc.) and add a new device. Choose the thermostat category and your thermostat’s brand.
- Account Linking: Log into the thermostat’s account (e.g., Ecobee, Nest account) when prompted to authorize the connection. This lets the two systems talk securely.
- Device Discovery: The platform should find your thermostat. It will appear as a device in your app’s device list.
- Naming and Rooms: Name your thermostat (like “Main Thermostat” or “Basement Thermostat”) and assign it to a room/group in the app. This helps with organized control and voice commands (e.g., “set Basement to 70 degrees”).

Step 3: Set Up Basic Automations
With the thermostat integrated, try some simple automations:
- Scheduling in Platform: You can keep using the thermostat’s built-in schedule, or use the smart home platform’s routines. For instance, in Alexa or Google Home, create a routine: at 7 AM on weekdays, set thermostat to 72°F (morning warm-up).
- Geo-automation: If your platform supports it, use geolocation triggers. E.g., “When I leave home, set thermostat to Eco mode” and “When I arrive, resume normal schedule.” This can replace or augment the thermostat’s own geofencing feature.
- Combined Triggers: Use other devices as triggers. If you have smart blinds, for example, set up: “When blinds close at noon, raise thermostat by 2° to save energy.” Or “When the smart lock is unlocked in the evening, set living room to 74°F.”

Step 4: Use Voice and Scenes
Now, enjoy unified control:
- Voice Commands: Try saying, “Alexa, what’s the temperature in here?” or “Hey Siri, set the thermostat to 75.” Because it’s integrated, the assistant knows which device to command. If you named it by room, you can include that: “OK Google, set Bedroom to 72.”
- Scenes/Routines: Create scenes like “Movie Time” that might dim lights and also cool the room a couple degrees for a cozy movie experience. Or “Goodnight” that turns off lights, locks doors, and sets the thermostat back for sleep.

Step 5: Expand with More Sensors (Optional)
To further enhance your setup:
- Smart Room Sensors: Some thermostats (like Ecobee) support additional room sensors to measure temperature (and occupancy). Integrating these can help balance comfort; for instance, have the thermostat prioritize the nursery at night if its sensor reads too hot/cold.
- Motion Sensors: If you have standalone motion detectors (part of a security system or smart home kit), tie them into your HVAC routines. For example, no motion in living room for 30 minutes could trigger the thermostat to dial back by a degree.
- Smart Vents/Fans: Advanced integration might include smart vents or ceiling fans. E.g., set a routine that when living room temperature hits 78°F, turn on a connected ceiling fan and notify the thermostat (so it might not need to kick on AC as soon).

Conclusion
Integrating your HVAC into your smart home might take a bit of initial setup, but once it’s done, you’ll wonder how you lived without it. The ability to have your home respond in concert – lights, climate, security, and more – to your needs or commands is the true magic of a smart home. Start with a compatible smart thermostat, link it up, and gradually build out automations that fit your lifestyle. Even as a beginner, a little trial and error will go a long way. Soon, your HVAC will be seamlessly woven into your smart home experience, making your life more comfortable and convenient.
